
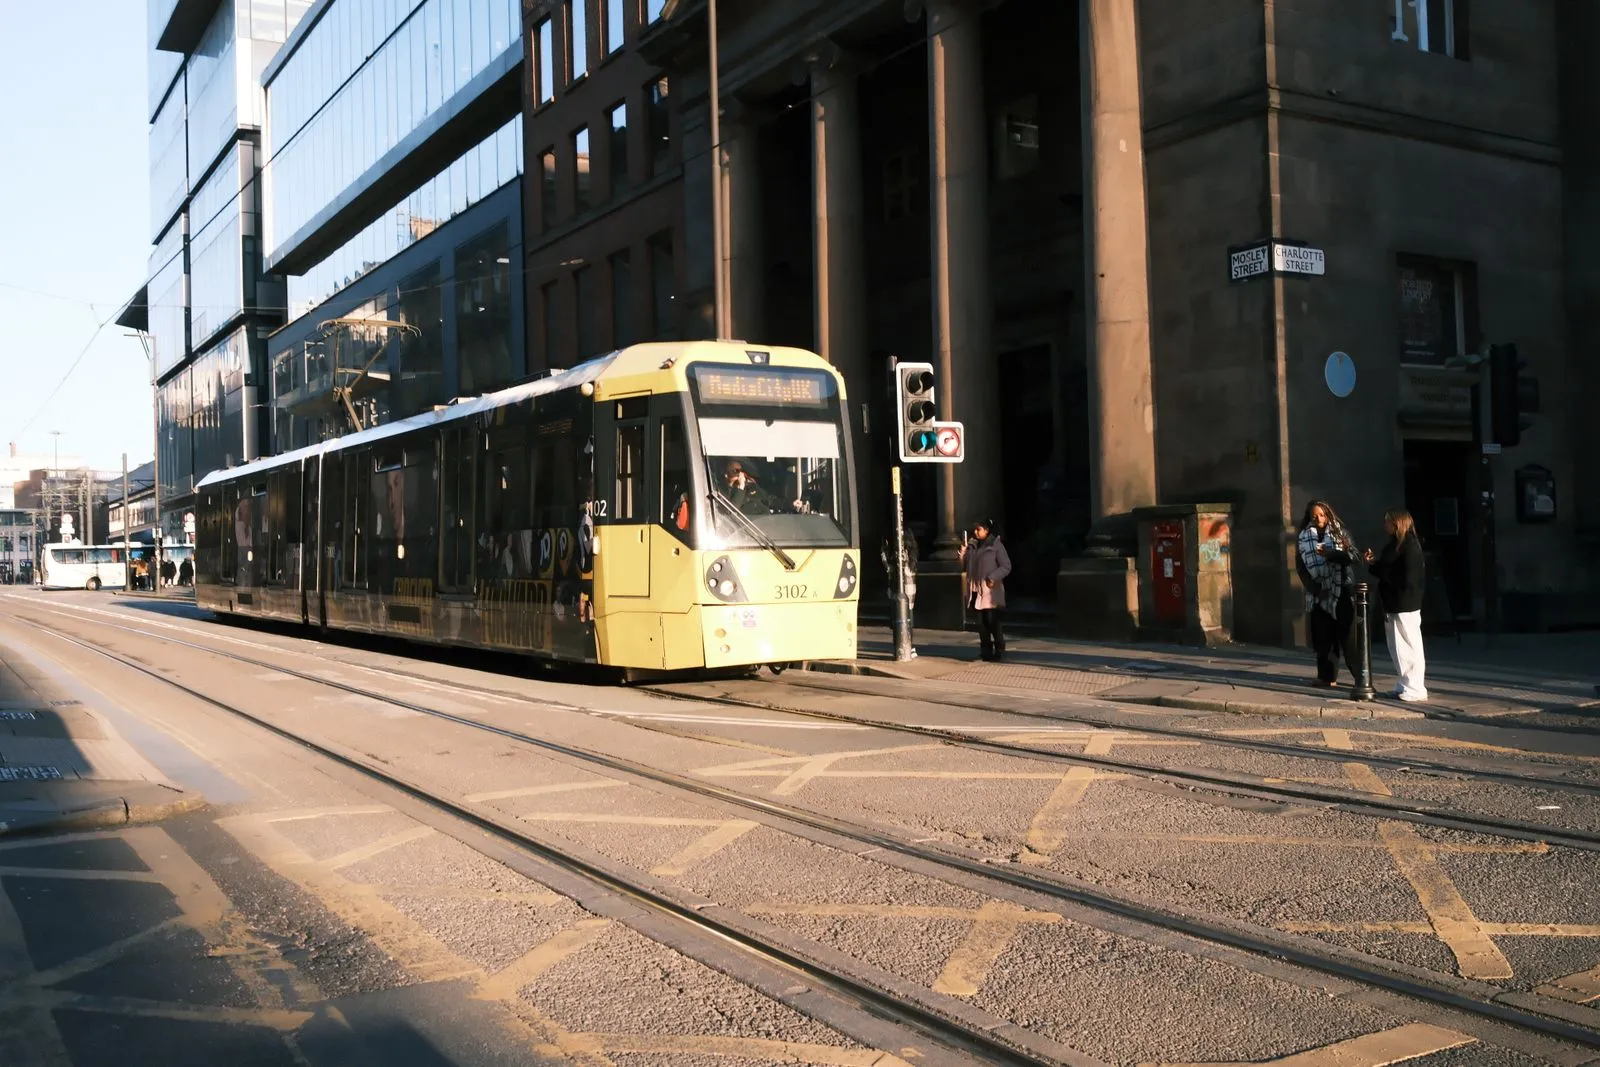
Rain can bring out details that dry weather leaves unnoticed. Manchester’s wet streets catch signs, windows, and passing lights, while cloud cover softens contrast across buildings and people. A little preparation helps you make the most of those conditions without rushing or risking your equipment. On a city walk, look for reflections, keep your camera accessible, and adjust settings as the light changes. These practical steps can help you return with photographs that feel distinctly tied to the city and the weather.
Find and Frame Reflections
Look for shallow puddles on broad pavements, near kerbs, and in sheltered courtyards. Move around the reflection before raising your camera: a small change in viewpoint can bring a building, sign, or passerby into a cleaner composition. Get low for a fuller mirror effect, or shoot from standing height to include more street context. Check the edges of the frame for distracting rubbish or bright patches.
Reflections work best when they add something to the scene rather than simply repeat it. Place the reflected subject near a strong line, such as a kerb or building edge, and leave enough space to show what is being reflected. Try a horizontal frame for a wide streetscape and a vertical frame for a tall façade. If a puddle is shallow, avoid stepping into it; use a longer focal length or change position instead.
Use Rain-Softened Light
Overcast skies act like a large diffuser, reducing harsh shadows and glare. This makes rainy conditions useful for photographing stonework, shopfronts, and people beneath umbrellas. Check the exposure on faces and pale buildings, since a dark street can tempt the camera to brighten the whole frame too much. Use exposure compensation when needed, and review the histogram or highlight warning to keep bright signs and wet highlights from losing detail.
Rain also changes color and contrast. Dark pavement can make warm window light, red brick, or a bright coat stand out. Look for small areas of color against neutral surroundings, and simplify the frame when the scene feels busy. If the light is flat, use leading lines, layers, or a clear subject to give the image structure. A brief pause under cover can help you notice how the scene shifts as clouds move.
Choose Weather-Ready Settings
For handheld street scenes, begin with a shutter speed fast enough to control movement. Around 1/250 second is a useful starting point for people walking, while slower speeds may blur motion. Raise ISO as needed rather than accepting a shutter speed that is too slow. For still buildings or reflections, you can use a slower shutter if you brace the camera securely and check for movement in the frame.
Use aperture to guide depth of field. A moderate setting such as f/5.6 can keep a street subject and some surroundings clear; open the aperture for a person against a softer background. In changing light, aperture priority with Auto ISO can reduce the number of adjustments you need to make. Review focus and exposure after moving between bright shop windows and darker streets, and keep a lens hood on to help limit stray drops.
Protect Gear and Stay Present
Carry a compact rain cover or a simple waterproof camera sleeve, plus a microfiber cloth in a sealed pocket. Wipe the front element gently when droplets appear; avoid rubbing grit across the glass. Keep spare batteries and memory cards dry, and place your camera inside a bag before entering a warm indoor space. Let cold equipment warm gradually to reduce condensation, and check your camera maker’s guidance if you are unsure about its weather resistance.
Plan a route with covered places where you can pause, review images, and dry your hands. Keep straps and bags close in crowded areas, and watch for slick paving, traffic, and uneven kerbs while composing. Give pedestrians room, especially when working near doorways or narrow pavements. Before moving on, take one last look at the scene from a different angle; the best reflection may appear after the rain eases.
Rain rewards patience more than complicated gear. Watch how reflections change as you move, use the soft light to control contrast, and protect your camera between shots. A considered route and a few deliberate settings can turn a wet walk into a focused photography session. For a guided way to explore the city with your camera, contact Manchester Photo Walks.